4 Steps to total satisfaction!
The service we provide involves a 4 stepped cleaning process. Each stage is described below.
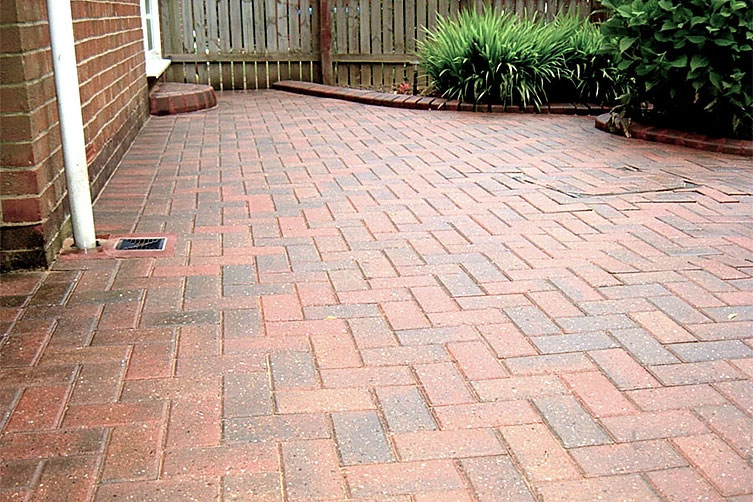
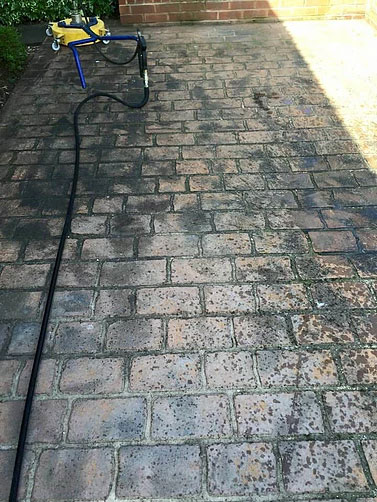
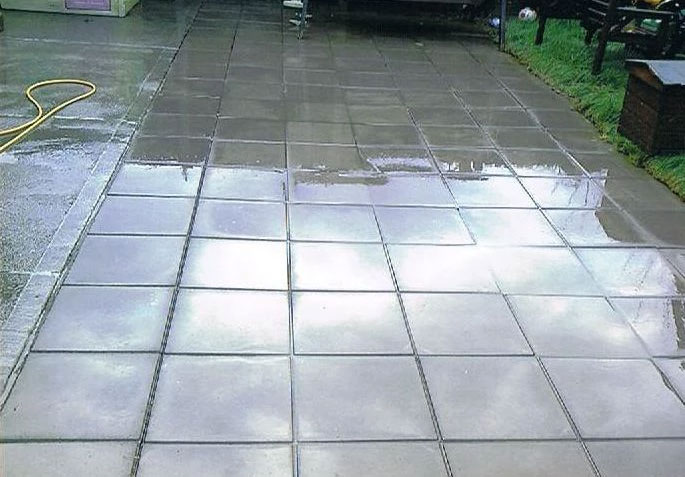
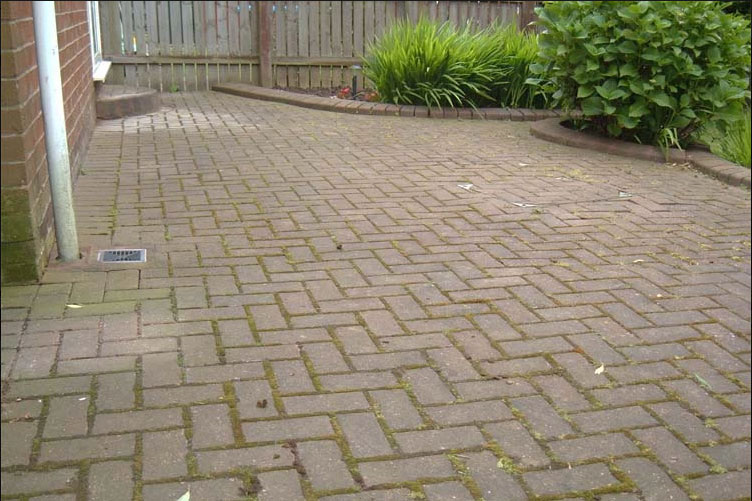
Step 1 – Surface Cleaning
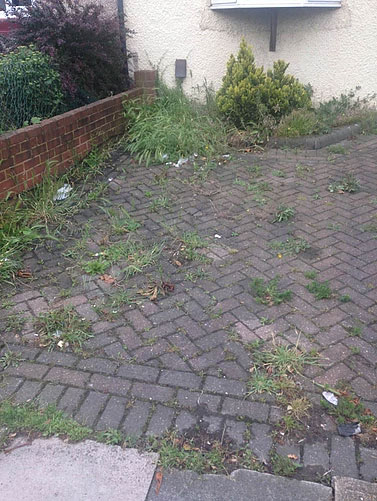
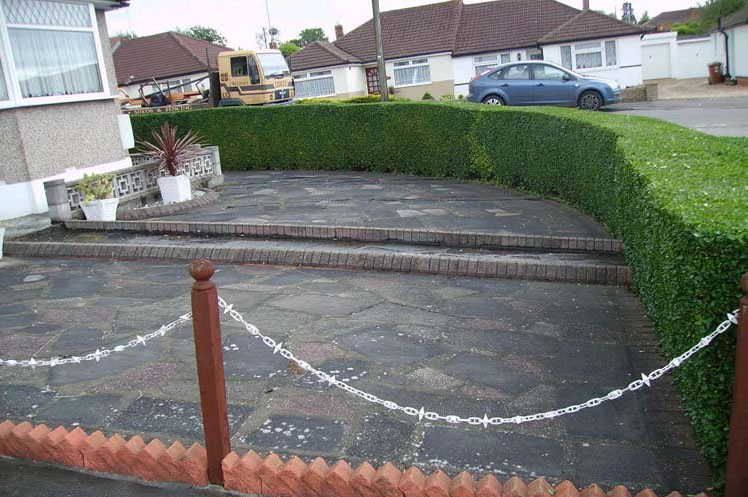
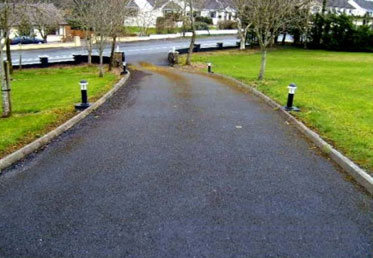
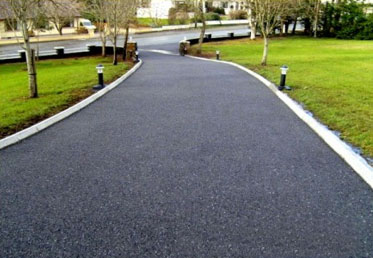
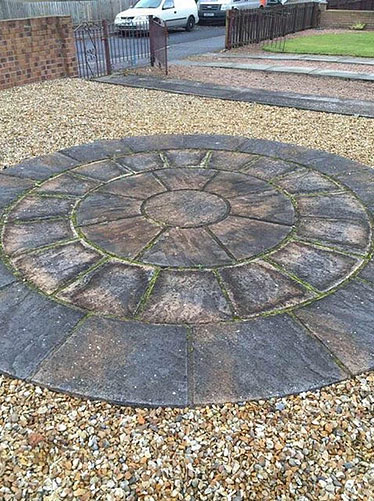
In all likelihood, you will have looked at your hard surface areas – drive, patio, decking – and wondered why their appearance has deteriorated over time. What is the best way to revive your drive, perk up your patio or spruce up your decking? In fact, by just cleaning your paving / drive / patio areas with specialist equipment, we will transform that ‘tired’ look to a ‘like new’ appearance again. Using purpose made equipment, we clean the hard surface concerned with a contained and concentrated high pressure water jet. This removes moss and algae, grime and general outdoor dirt that etches onto hard surfaces over time.
Most importantly, our industrial machines are not only more powerful than any equipment you might be able to hire (or even buy!), but we take care of the cleaning process without the downsides associated with home pressure washers which consume high volumes of water and send water shooting in all directions!
Step 2 – Fungicidal wash
We can help you maximise the intervals between drive maintenance work by using a fungicidal spray. Application of a fungicide kills off residual dislodged spores of moss and lichen. These spores have been totally removed from the surface, restoring the “wow” factor. To keep that “wow” factor, it’s best to “zap” the area with a fungicide to stop the critters lurking in the gaps and coming back any time soon !
Step3 – Re-sanding
We will re-sand any jointing material dislodged during the cleaning process, so all weeds can be removed, with peace of mind that the jointing will be re-instated like new! We will brush in all the jointing with fresh sand. Not just any old sand – we use kiln dried sand which is the right tool for the job. You may well ask: is that it – just
cleaning and re-sanding the jointing? Well, not quite! If you want your cleaned Surfaces to remain looking fresh for as long as possible, we recommend a third step: applying a finishing layer of protective sealant of acrylic coating.
Step4 – Sealant
We certainly recommend that you seriously consider having a coat of clear protective sealant sprayed over the pre-treated area of paving concerned.
This will prolong the life of the treatment and keep your revitalised paving area looking its best for much longer. Put it this way, while we are on site already, it makes sense to pay a little bit extra to protect your hard surfaces for much longer, so that you and
your property will get the maximum benefit from calling the specialists in !